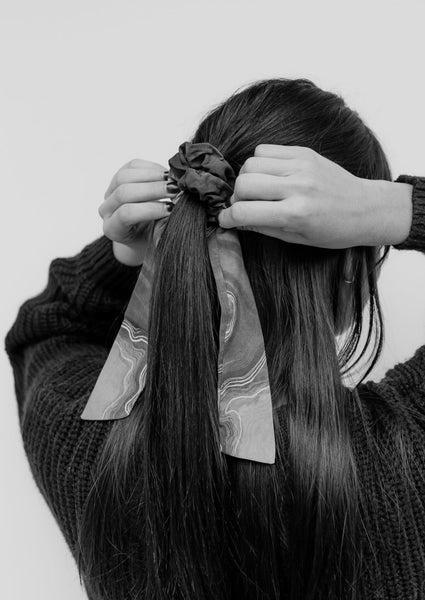
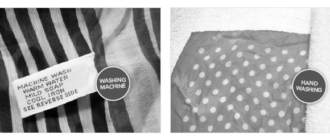
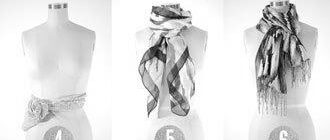
Using a safety pin, fold the fabric in half lengthwise. Sew the long edge, turn it right side out, and stitch the short ends together. Insert an elastic band and stitch the small opening closed. The finished scrunchie should look like a scarf! See pictures below for a step-by-step walk-through. This post contains affiliate links, which means I may earn from qualifying purchases.
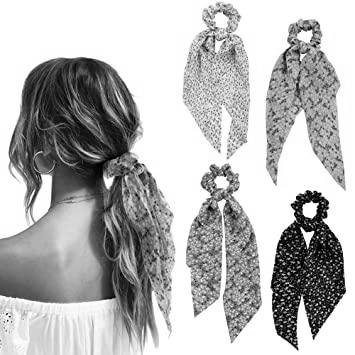
Fold the scarf inside out to reveal the nice side of the fabric. Place a safety pin inside the scarf tube and push the elastic through it. You can use a safety pin to keep the elastic from coming out the other side. Now your scarf scrunchie is ready to wear! Make it your own by following these steps:
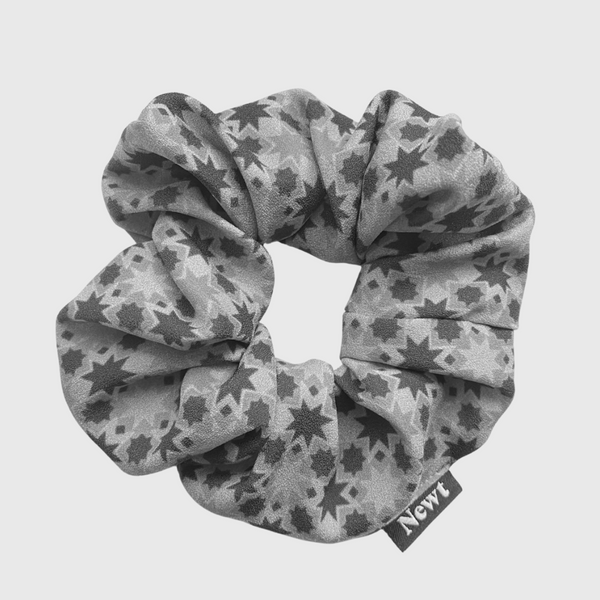
To make this scarf scrunchie, you need to find a vintage scarf in complementary colors. Choose a silk scarf with a textured side and a small pattern. Ensure it is not see-through because it won’t work well with sewing machine. A vintage silk scarf will cost you about $3 at a vintage store. Choose a scarf that is 4 1/2 inches wide, and sixteen to twenty inches long. Once you have found a scarf that is long enough, cut it into a tube.
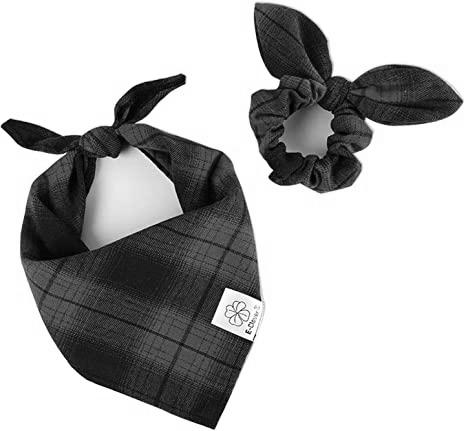
To make a scarf scrunchie, you don’t need to use a sewing machine. You can hand sew it with an all-purpose sewing thread. Make sure to match the thread to the fabric you’re working with, and use a small running stitch. Then attach your scarf to the scrunchie and wear it proudly! It’s as easy as that! So make a scarf scrunchie for yourself or a loved one today!
This is a fun project for the beginning sewer. You don’t need to cut up large pieces of fabric, as a fat quarter size can make about five scrunchies. Once you’ve cut the fabric, follow the instructions for cutting the elastic and sewing the ends. Make sure you leave about 1.5 inches on each end. This will give you plenty of room to adjust the size of your scrunchie!
