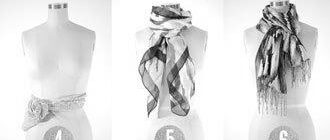
Using a Sarah scarf scrunchie makes styling your hair a breeze. These nifty hair ties feature non-damaging elastics and chic scarves. If you’re tired of tying your ponytails every day, look no further. A Sarah scarf scrunchie will make styling your ponytail a breeze. Read on to find out how to use this accessory. It’s sure to become your new favorite accessory.

To make a scarf scrunchie, start by cutting the fabric to desired length. Fold in half lengthwise and sew the long edge. Turn the fabric right side out and sew the remaining opening. Insert the elastic and stitch the ends together. You can follow a pattern to make your own. Make sure to stitch the seams close to the edge of the fabric. Make sure to follow the directions carefully, as I’ve included pictures for the same steps.

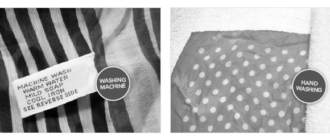
To make your own scarf scrunchie, you can either use your sewing machine or sew it by hand. You’ll want to use all-purpose sewing thread that matches the fabric. Use a small running stitch, not a fancy one. If you don’t have a sewing machine, you can always buy one online. Just make sure to follow the manufacturer’s instructions and use a sewing needle with a small running stitch.

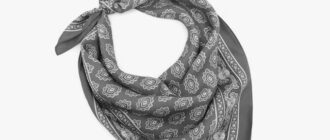
Using a sewing machine is a great way to make scrunchies, and they’re cheap and easy to make. One fat quarter of fabric will make about 5 scrunchies. The instructions will also teach you how to cut your fabric and the elastic. You can make as small or as large as you like. Once you’ve mastered the technique, you’ll be able to make scrunchies that match your personal style.